3D calibration structures for 4Q BSD SEM
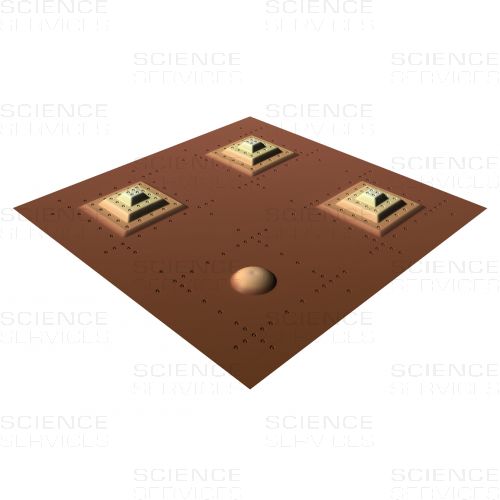
m2c 3D calibration technology helps to turn a SEM with 4 Quadrant BSE detectors (4Q BSD) into a quantitative measurement system. 3D calibration with special m2c reference structures for 4Q BSD SEMs has the following advantages:
- Simultaneous (one-step) lateral and vertical calibration
- Calibration is extremely efficient and accurate due to advanced image processing methods
- Calibration structure has a spherical segment for the signal adjustment of the four backscatter detectors (BSD)
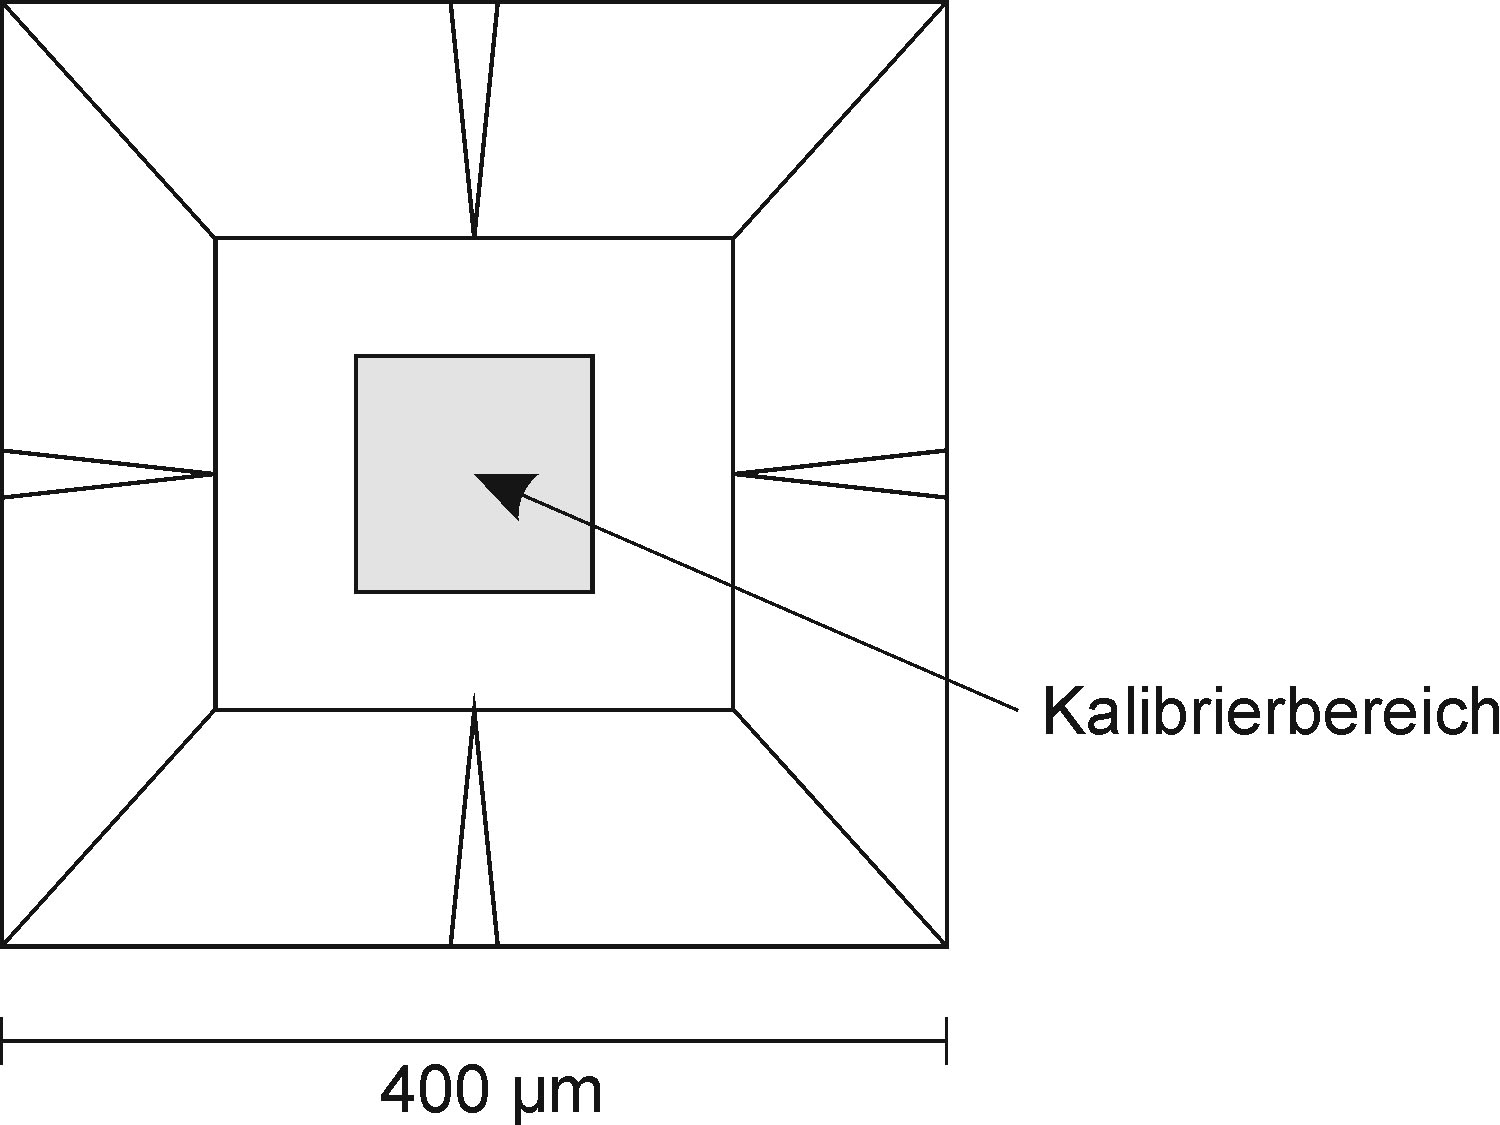
m2c 3D calibration structures for 4Q BSD SEM systems are available for several scan areas, from 40 μm x 40 μm and up to 80 μm x 80 μm. The complete structure with four elements (full area) or a single pyramidal element (quarter area) may be used for the automated calibration process
Product Details
Description
| Name | Structure | Pyramidal Elements | Reference Marks | ||||||
| Scanning Area |
Max. Height |
Number | Size | Steps | Step Height |
Diameter | Line Width |
Depth | |
| µm | µm | µm | µm | nm | nm | nm | |||
| MMC-40-4BSD | 40x40 | 1,8 | 3 | 10 | 3 | 0,6 | 600 | 100 | 120 |
| MMC-80-4BSD | 80x80 | 3,0 | 3 | 20 | 3 | 1,0 | 800 | 150 | 150 |
Please note: This table contains only nominal values. The real dimensions differ from these nominal values. As a special feature, m2c calibration structures have
reference marks with calibrated co-ordinates. For calibration, the reference marks have to be used. To provide a traceable calibration, reference measurements are performed by the German metrological institute PTB upon request.
Each calibration structure can be used for the calibration of at least two scan areas (whole structure and single pyramid). For different tasks, m2c also provides other calibration structures and customized layouts upon request.
3D calibration structures for 4Q BSD calibration contain a spherical element for the calibration of the four detectors. This element has a base diameter of 10 μm and a height of about 1 μm.
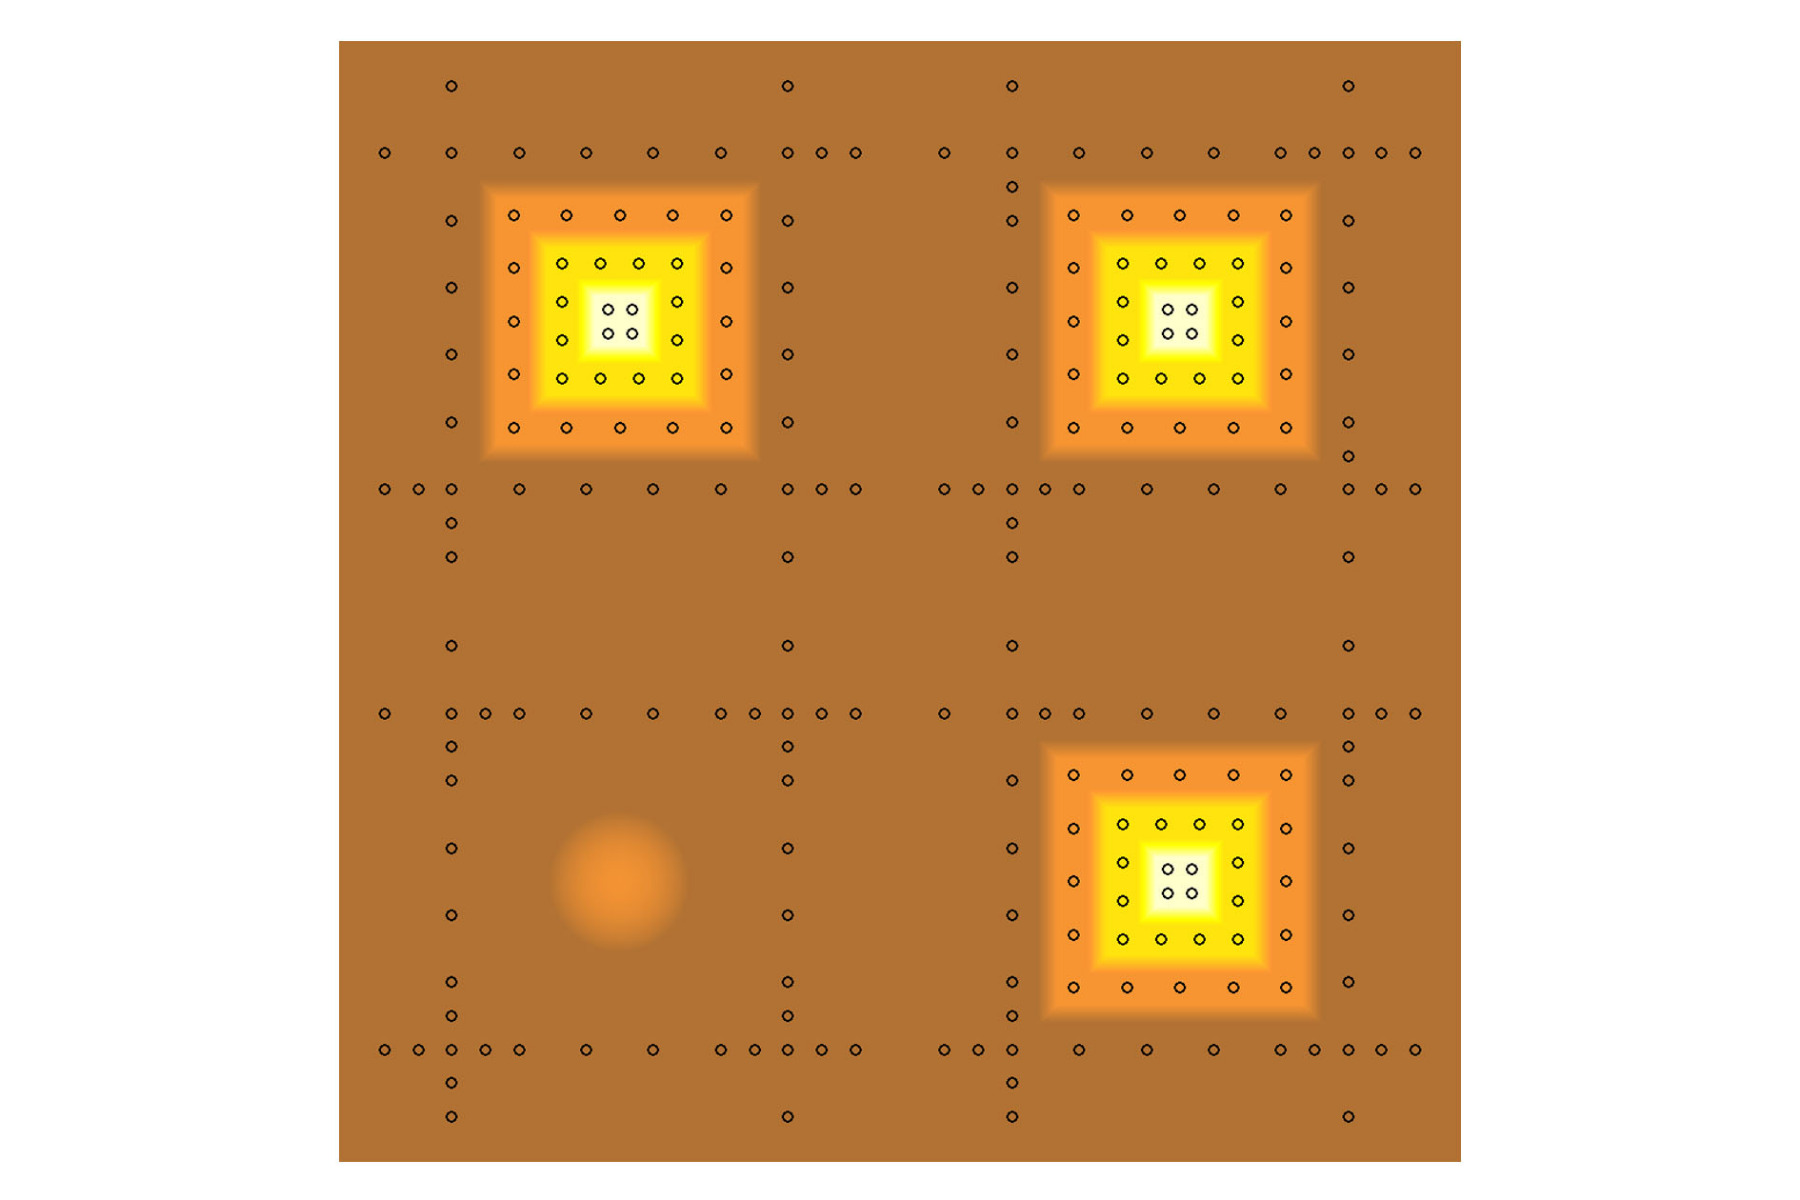

MMC calibration structures are fabricated in a combination of FIB (Focused Ion Beam) deposition and FIB milling. They consist of a composite of carbon and platinum, placed on a 6 mm x 6 mm Silicon chip. This silicon chip is conductive and fixed on a 12 mm x 12 mm aluminium plate. For easier handling, a finder grid points to the calibration area.
How does it work?
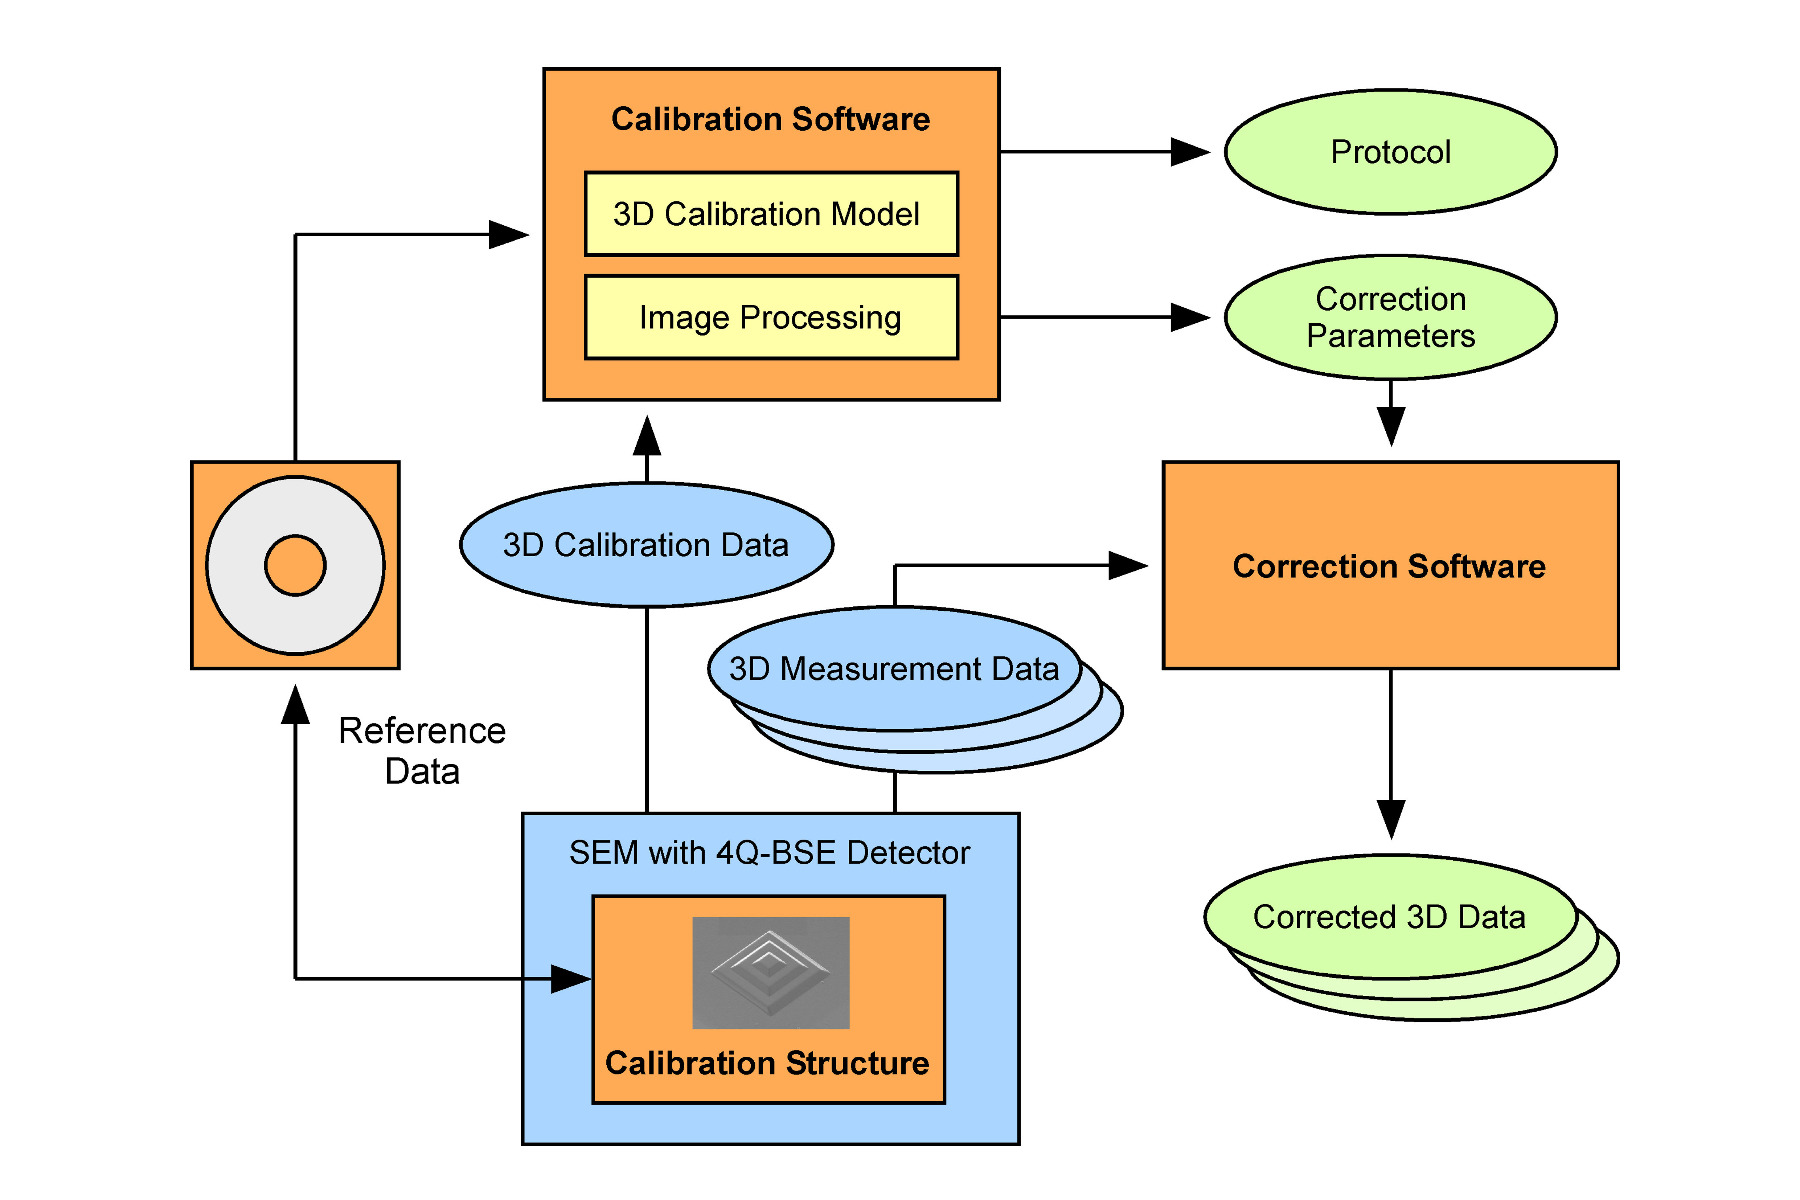
m2c customers obtain a 3D calibration structure, the m2c 3D calibration software microCal, and a reference data set that represents the 3D coordinates of the reference marks on the structure surface.
The calibration structure is then measured with the customer’s SEM. A 3D data set is calculated with the customer’s 3D software. These data are imported into the m2c software package, automatically analysed and compared to the reference data.
The resulting geometric parameters, especially the scale in all three coordinate axes allow the characterisation of the accuracy of the used system as well as the correction of further measurements.
m2c also provides general services in measurement technology as well as in specific software development in the areas of spatial data analysis, image processing and co-ordinate measurement. We are experts in FIB prototyping and in programming automated FIB patterning processes. Besides SEM calibration samples, m2c also offer other structure variants (i.e. with 4 pyramids for SPM calibration) and customized layouts upon request.
m2c calibration software microCal is recommended for a successful 3D calibration. It is developed especially for use with m2c 3D calibration structures. microCal allows an easy and automated calibration of your microscope. It determines 6 linear calibration parameters: three scale factors for the co-ordinate axes and three coupling factors for the coupling between all co-ordinate axes (orthogonal deviation). In addition, it provides tools for 3D data manipulation, especially for 3D data correction based on the calibration results.
More Information
| Manufacturer |
m2c
|
|---|---|
| Application |
SEM
quantitative 3D measurement system, SEM
|
| Packing Unit | each |
